Hey guys, Tom here. If you’ve been bugging me lately about getting into kayak fishing—especially asking how to set one up as a total beginner—you know I don’t mess around with generic, copy-paste advice. I’ve been casting lines from kayaks for 20 of my 35 years as an angler, and I’ve made every mistake in the book: from buying the wrong kayak that tipped over on my first trip, to rigging my gear so poorly I lost a brand-new rod overboard (still cringes thinking about it). This guide isn’t just a list of gear—it’s the hard-earned wisdom I wish someone had given me when I first started. No fluff, no fancy jargon, just straight talk from a guy who’s been there, tangled lines in a kayak, and learned how to set up a rig that’s reliable, easy to use, and built for success. Whether you’re looking to fish freshwater lakes (like my beloved Leech Lake) or saltwater bays (Orange Beach is a gem for kayak fishing), this setup will get you on the water, casting confidently, and catching fish—without the stress.
First: Let’s Bust the Biggest Myth About Kayak Fishing Setup
Before we dive into gear, let’s get one thing straight: You don’t need to spend a fortune to set up a kayak for fishing. I see beginners drop $2,000+ on “premium” setups, only to realize half the gear is useless for a first-timer. My first kayak fishing setup cost me $300 total (used kayak + basic gear), and I caught more bluegill and bass that summer than I did with my fancy boat setup. The key isn’t expensive gear—it’s choosing the right gear for your needs, rigging it properly, and keeping it simple. Trust me, I’ve tested the high-end stuff, and for beginners, 80% of your success comes from 20% of the gear. Let’s start with the foundation: the kayak itself.
Step 1: Choose the Right Kayak (The Most Critical Decision for Beginners)
This is where 90% of beginners mess up—they buy a kayak that’s too small, too unstable, or built for speed (not fishing). Let me save you the headache with the same advice I give my buddies: Stability > Speed > Everything Else for beginners. You don’t want to be worrying about tipping over while you’re trying to cast or reel in a fish. Here’s what I recommend, based on 20 years of kayak fishing:
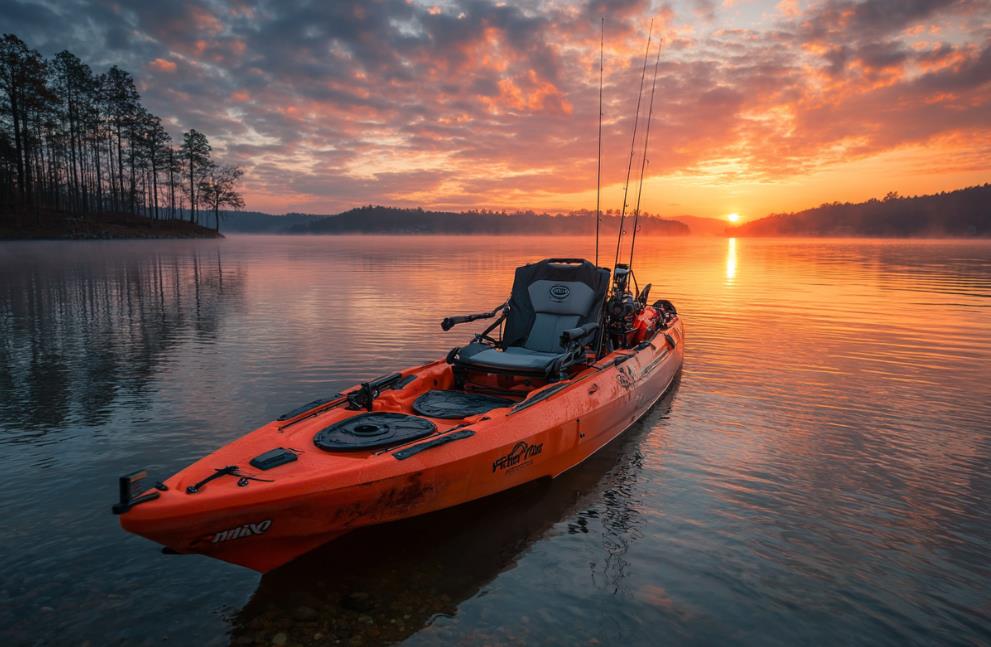
Best Kayak Type for Beginners: Sit-On-Top (SOT) Fishing Kayak
Forget sit-inside kayaks—they’re great for paddling, but terrible for fishing, especially if you’re new. Sit-on-top kayaks are stable, easy to get in and out of (critical if you fall in, which you will—we all do), and have plenty of open space to mount gear. I started with a 10-foot sit-on-top from Old Town, and it’s still my backup kayak today. Here’s what to look for:
- Length: 10–12 feet – Shorter than 10 feet is too unstable for fishing (I tried an 8-footer once, tipped over within 5 minutes while reaching for my rod). Longer than 12 feet is harder to maneuver, especially in tight coves or calm bays where beginners should start. My sweet spot is 10.5 feet—perfect for stability and maneuverability.
- Width: 30–34 inches – Wider = more stable. Narrow kayaks (under 30 inches) are fast but wobbly—great for experienced anglers, not beginners. My first kayak was 32 inches wide, and I could stand up in it (carefully) to cast, which is a game-changer for spotting fish.
- Weight Capacity: 300–400 pounds – You need to account for your weight, plus gear, bait, and even a cooler. I made the mistake of buying a kayak with a 250-pound capacity once—added my gear and a 6-pack, and it sat too low in the water, making it hard to paddle. Don’t cut corners here.
My personal pick for beginners: Old Town Vibe 100. It’s affordable ($500–$600 new, $300–$400 used), stable as a rock, and has built-in rod holders and storage—perfect for a first setup. I bought mine used 15 years ago, and it’s still going strong (I’ve patched a few scratches, but it’s indestructible). Avoid cheap “toy” kayaks from big-box stores—they’re flimsy, unstable, and will break after a few trips. Spend a little extra on a quality used fishing kayak, and you’ll save money in the long run.
Step 2: Essential Gear for Your Kayak Fishing Setup (No Extras, Just What You Need)
Now that you have the kayak, it’s time to rig it with gear. Again, keep it simple—you don’t need 10 rod holders, a fish finder, or a fancy anchor system as a beginner. Focus on the basics that will make your trip easier and safer. I’ll break this down by category, with my personal recommendations and mistakes to avoid.
A. Paddles: Don’t Skimp on Comfort (I Learned This the Hard Way)
Your paddle is your engine—if it’s uncomfortable or too heavy, you’ll be sore halfway through the trip and won’t want to fish. I made the mistake of using a cheap, heavy aluminum paddle my first year—my arms were so sore I couldn’t cast the next day. Here’s what to look for:
- Material: Fiberglass or Carbon Fiber – Aluminum is heavy and will wear you out. Fiberglass is affordable ($50–$100) and lightweight, while carbon fiber is lighter but more expensive ($150+). For beginners, fiberglass is perfect—my current paddle is a fiberglass Bending Branches model, and it’s lasted 8 years.
- Length: 230–240 cm – The right length depends on your kayak’s width. For a 30–34 inch wide kayak, 230–240 cm is ideal. Too short, and you’ll have to work harder to paddle; too long, and you’ll hit the sides of the kayak (I did this constantly with a 250 cm paddle—so annoying).
- Feather Angle: 0° or 15° – Feathering is when the blades are offset, which reduces wind resistance. For beginners, 0° is easier (no need to twist your wrist), but 15° is better for windy days. I use 15° now, but started with 0°—do what’s comfortable.
Pro tip: Bring a paddle leash. I lost a $70 paddle on my second trip because I didn’t have a leash—wind caught it, and it floated away before I could grab it. A $10 leash will save you from that frustration.
B. Fishing Rod & Reel: Simple, Durable, and Easy to Use
You don’t need a fancy rod for kayak fishing—just something durable, lightweight, and easy to handle. Remember, you’re fishing from a small kayak, so you don’t need a long rod (it will get in the way). Here’s my go-to setup for beginners, which I still use for most freshwater trips:
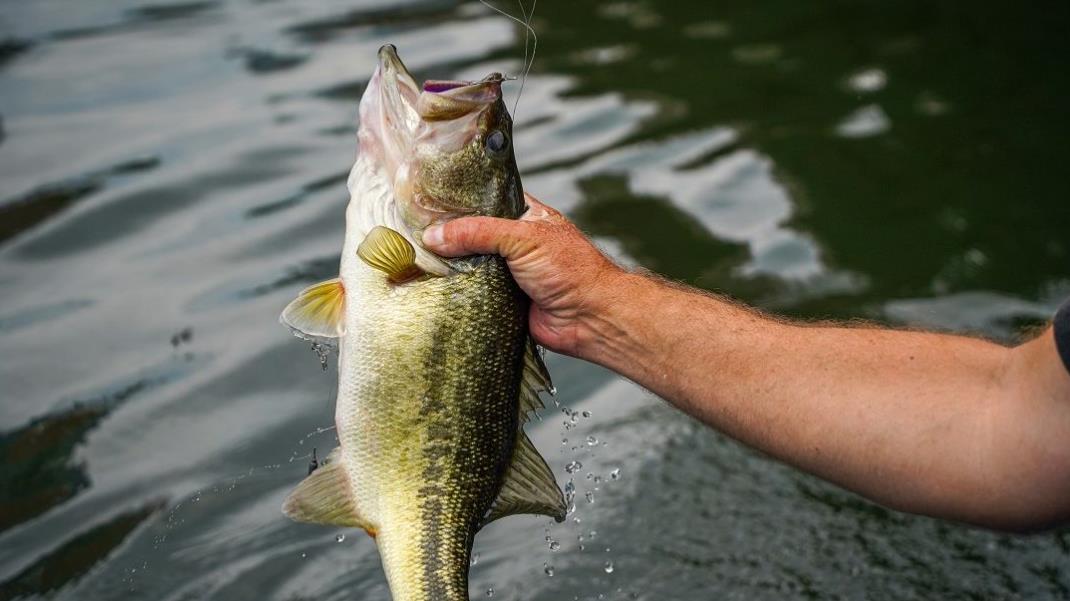
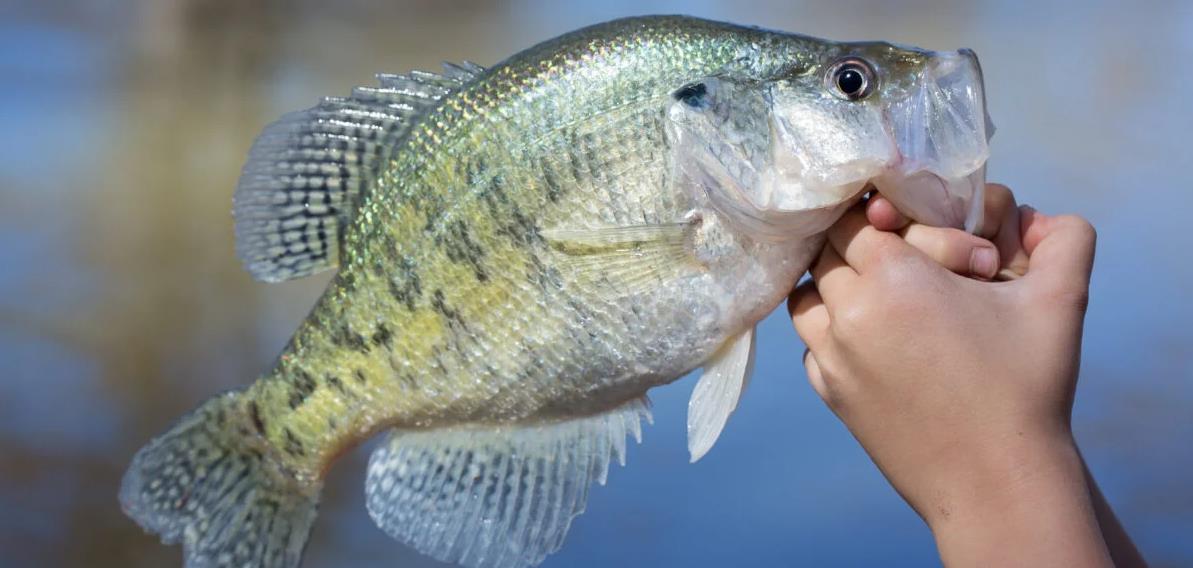
- Rod: 6–6.5 foot Medium-Light (ML) Spinning Rod – Medium-light is perfect for most freshwater fish (bluegill, crappie, bass) and even small saltwater fish (speckled trout, redfish). A 6-foot rod is short enough to maneuver in a kayak, but long enough to cast far. I use a Ugly Stik GX2—affordable ($40–$50), indestructible, and sensitive enough to feel even the smallest bite. I’ve had mine for 10 years, and it’s survived being dropped in the water, stepped on, and even chewed by my dog.
- Reel: 2000–2500 Size Spinning Reel – Spinning reels are easier to use than baitcasters (avoid baitcasters as a beginner—they’re prone to backlash, and you’ll spend more time untangling line than fishing). A 2000–2500 size is perfect—small enough to fit in your hand, but large enough to hold enough line (100 yards of 8–10 lb test). I recommend a Shimano Sienna or Pflueger President—both under $100, reliable, and easy to maintain. I made the mistake of buying a cheap 1000 size reel once—it couldn’t handle a 3-pound bass, and the handle broke mid-fight. Don’t do that.
- Line: 8–10 lb Monofilament or Braided Line – Monofilament is cheaper ($5–$10 per spool) and easier to handle for beginners—it stretches, which helps when fighting fish (prevents line breaks). Braided line is more sensitive and has less stretch, but it’s more expensive and can be tricky to tie knots with. I started with monofilament and switched to braided line after a year—stick with mono first. For saltwater, go with 10–12 lb test; for freshwater, 8–10 lb is fine.
Pro tip: Mount a rod holder on your kayak. I use a simple flush-mount rod holder behind my seat—keeps the rod out of the way while I paddle, and I can grab it quickly when a fish bites. Don’t leave your rod lying on the kayak—waves will knock it overboard (I lost a rod that way once, and it still haunts me).
C. Safety Gear: Non-Negotiable (I’ve Saved Myself with This Stuff)
Safety should be your top priority—kayak fishing is fun, but it can be dangerous if you’re not prepared. I’ve had my share of close calls (like getting caught in a sudden storm on Leech Lake), and these items have saved me more than once. Here’s what you must have:
- Personal Flotation Device (PFD) – Not just any PFD—get one designed for fishing. It should have pockets for gear (like pliers or a knife) and be comfortable enough to wear all day. I use a Bass Pro Shops Fishing PFD—it’s lightweight, has plenty of pockets, and keeps me afloat even with all my gear. Never skip the PFD—even if you’re a strong swimmer. I once fell in cold Minnesota water (60°F), and my PFD kept me afloat while I climbed back into the kayak. Trust me, you don’t want to test the water without it.
- Whistle – Attach it to your PFD. If you get stuck or tip over, a whistle is louder than your voice and will help rescuers find you. I keep mine on a lanyard so it’s always within reach.
- First-Aid Kit – Small, waterproof, and stocked with basics: band-aids, antiseptic wipes, tweezers (for removing hooks), and pain relievers. I once hooked myself in the finger (stupid mistake—wasn’t paying attention), and my first-aid kit saved me from a trip to the ER. Keep it in a waterproof bag so it doesn’t get wet.
- Waterproof Dry Bag – For your phone, keys, wallet, and any other valuables. I use a 10-liter dry bag—fits all my essentials, and it’s never leaked. I made the mistake of not using one once, and my phone got soaked (ruined it). Don’t be that guy.
Bonus safety tip: Check the weather before you go. I once went out on a calm morning, only to have a thunderstorm roll in an hour later. I barely made it back to shore—scariest 10 minutes of my fishing career. Always check the forecast, and if there’s any chance of wind or rain, stay home.
D. Extras: The Small Things That Make a Big Difference
These aren’t essential, but they’ll make your kayak fishing trips much more enjoyable. I didn’t have these when I started, and I wish I did:
- Anchor System – A small folding anchor (1–2 pounds) will keep your kayak in place while you fish. I use a 1.5-pound anchor with 50 feet of rope—perfect for calm water. I used to drift around while fishing, which made it hard to stay on a school of fish. An anchor solved that problem. Just make sure to tie it to the kayak with a quick-release knot—if you get stuck on a rock, you can release it quickly.
- Bait Bucket – A small, floating bait bucket will keep your bait (worms, minnows, etc.) alive and accessible. I use a 1-gallon bucket with a lid—drills holes in the sides for water flow, and it floats so it doesn’t sink if I drop it. I used to keep bait in a plastic bag—big mistake, it died within an hour. A bait bucket is worth the $10.
- Fishing Pliers – For removing hooks, cutting line, and crimping weights. I use a pair of stainless steel pliers with a lanyard—keep them in a PFD pocket so they’re always handy. I once tried to remove a hook with my fingers (don’t do that)—got pricked, and the hook got stuck. Pliers would have made it easy.
- Sun Protection – Hat, sunglasses, and sunscreen. You’re out on the water all day, and the sun reflects off the surface—you’ll get burned fast. I use a wide-brimmed hat, polarized sunglasses (to see fish in the water), and SPF 50 sunscreen. I once forgot sunscreen and got a terrible sunburn on my neck—couldn’t fish for a week. Learn from my mistake.
Step 3: Rigging Your Kayak (How to Set It All Up Like a Pro)
Now that you have all the gear, it’s time to rig your kayak. The goal is to keep everything organized, accessible, and secure—you don’t want gear flying around while you paddle or fish. Here’s my step-by-step rigging process, which I’ve refined over 20 years:
- Mount Rod Holders – Install 1–2 flush-mount rod holders behind your seat (one on each side if you fish with two rods). Use marine-grade screws to attach them—you don’t want them to come loose. I mount mine about 6 inches apart, so I can reach both rods easily. Avoid suction-cup rod holders—they fall off in rough water (I tried them once, lost a rod).
- Secure Your Paddle – Attach a paddle leash to the kayak (tie it to a secure point, like a handle) and to your paddle. This way, if you drop your paddle, it won’t float away. I keep my paddle across the kayak’s cockpit when I’m fishing—easy to grab when I need to move.
- Organize Your Gear – Use the kayak’s built-in storage compartments for your dry bag, first-aid kit, and bait bucket. Keep frequently used items (pliers, extra line, hooks) in your PFD pockets or a small tackle bag attached to the kayak’s seat. I use a tackle bag with clear pockets—easy to see what’s inside without digging around.
- Attach the Anchor – Tie the anchor rope to the kayak’s front or rear handle (use a quick-release knot). I attach mine to the rear handle—it keeps the kayak facing into the wind, which makes casting easier. Keep the anchor in a small bag when not in use, so it doesn’t get tangled.
- Test Everything – Before you launch, test your rig: make sure rod holders are secure, the paddle leash works, and all gear is tied down. I once launched without testing my anchor rope—it was too short, and the anchor got stuck on a rock. I had to paddle back to shore to fix it, which wasted an hour of fishing time.
Tom’s Pro Tips for Beginner Kayak Anglers (Learned the Hard Way)
I’ve made every mistake you can make with a kayak fishing setup—here are the tips that will save you time, money, and frustration:
- Start Small – Don’t head out to a big lake or rough saltwater bay your first time. Start with a small, calm lake (like a local pond or small reservoir) where you can practice paddling and rigging without stress. I started on a small pond near my house—caught bluegill all day, and it built my confidence. Once you’re comfortable, move to bigger water.
- Practice Paddling First – Before you add fishing gear, spend 30–60 minutes paddling your kayak. Get used to turning, stopping, and reversing—this will make fishing much easier. I tried to fish on my first trip without practicing paddling, and I spent more time fighting the kayak than catching fish.
- Don’t Overload Your Kayak – It’s tempting to bring every piece of gear you own, but too much weight will make your kayak unstable and hard to paddle. Stick to the essentials—you can add more gear as you gain experience. I once brought a cooler, extra rods, and a lawn chair—my kayak sat too low in the water, and I almost tipped over.
- Learn to Tie Basic Knots – You don’t need to be a knot expert, but you should know how to tie a Palomar knot (for attaching hooks/lures) and a clinch knot (for attaching line to the reel). I learned these two knots in 10 minutes, and they’ve worked for me for 20 years. Practice tying them at home—you don’t want to be fumbling with knots on the water.
- Embrace the Mistakes – You will tip over. You will lose gear. You will miss bites. That’s part of the process. I tipped over my first week—got soaking wet, lost a lure, and felt like an idiot. But I got back in, kept fishing, and learned from it. Now, I can tip over and climb back in without even getting my phone wet. Don’t let mistakes discourage you—they’re how you become a better angler.
- Keep It Fun – Remember, kayak fishing is supposed to be fun. You don’t need to catch a trophy fish every trip. My best kayak fishing memories are of catching small bluegill with my grandkids, laughing at the mistakes, and enjoying the quiet on the water. Don’t get too caught up in gear or catching fish—just enjoy the ride.
Final Thoughts – You’re Ready to Hit the Water
Guys, kayak fishing is one of the most rewarding ways to fish—you get up close to the water, you can reach spots boats can’t, and it’s a great way to enjoy nature. The setup I’ve outlined here is simple, affordable, and proven—I’ve used it to catch everything from 6-inch bluegill to 20-pound walleye, and it’s perfect for beginners. You don’t need to be a pro to get started—just grab your kayak, rig it up, and head out. Remember, the best setup is the one you’re comfortable with—don’t be afraid to tweak it as you gain experience.
If you have any questions—about choosing a kayak, rigging your gear, or handling a fish from a kayak—just ask. I’ve been there, and I’m happy to help. Now go grab your kayak, your rod, and make some memories. Tight lines, guys.
– Tom, Your Go-To Kayak Fishing Guy